Catalog teams
Many SKUs, one visual language
Create a repeatable packshot direction for seasonal uploads, colorways, and marketplace refreshes.
Extend it with virtual try onA packshot gives shoppers a clear, distraction-free view of a product. Fashn turns a simple clothing image into a clean packshot for catalogs, product pages, marketplaces, and campaign planning without starting in a studio.
1
clean garment input
4×
more angles to explore
PDP
ready for product detail pages
Input
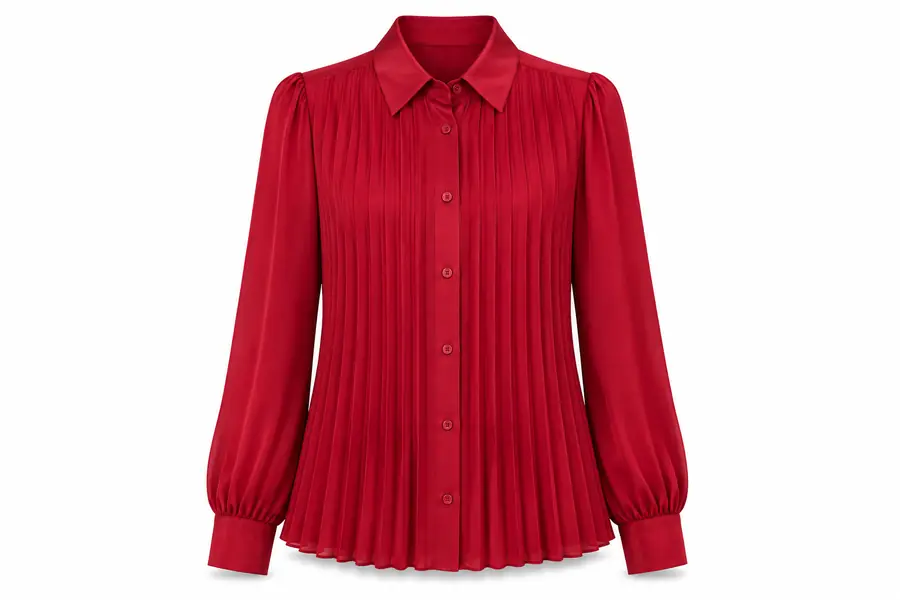
A front-facing garment photo with visible shape, color, and construction details.
Direction
Choose a neutral background, crop, and product angle that fit the rest of your catalog.
Output
A consistent product visual that can move from review to storefront with minimal cleanup.
Good inputs make a packshot easier to trust. You do not need a finished studio shoot, but the garment should be visible enough for Fashn to preserve its silhouette, surface, and key details. If you later need the same item shown on a person, a try-on workflow can extend this clean base image into a more contextual visual.
Use a sharp image with the full item inside the frame. Avoid heavy shadows, folded sections, and accessories hiding the main shape.
Decide whether the packshot should feel like a marketplace listing, a premium PDP, or a quiet editorial catalog before writing your direction.
Review seams, logos, closures, and textures on one sample first. Once the packshot is right, repeat the same direction across the batch.
Start with a single reference, make the first output specific, and only then expand. This sequence keeps a packshot useful for both human review and production handoff. Teams that need a person in the frame can move from this foundation to model-led variations without losing the product direction.
Catalog teams
Create a repeatable packshot direction for seasonal uploads, colorways, and marketplace refreshes.
Extend it with virtual try onCreative producers
Build a neutral product baseline before testing campaign crops, styling, or audience-specific imagery.
Use model swap for new talent directionsIndependent labels
Turn early samples into useful product visuals while the collection is still being finalized.
Explore ai fashion models for later conceptsRetail operations
Use the same framing and treatment across a growing catalog without booking a new set for every update.
Add consistent models to the wider systemUse this simple estimate to see how a product-image batch can scale. It is a planning guide, not a promise of identical output for every garment or a substitute for checking the final packshot.
The estimate assumes four usable variations per SKU, approximately eleven minutes of avoided studio preparation per garment, and a planning value of $18 per garment in the batch.
Test your batchA packshot is strongest when it communicates the product rather than inventing one. These limits are worth knowing before you approve a full batch, especially when a small construction detail carries commercial or legal importance.
Small embroidered marks, microtype, and decorative labels can lose exact geometry when the source photo is low resolution.
Workaround: supply a sharp close-up or add a final brand-control pass.
Sheer layers, lace, mesh, and reflective trims may be interpreted differently from one generation to the next.
Workaround: use a controlled input and compare the output against the physical sample.
The overall silhouette can be convincing while exact drape, stretch, or fit differs from the real garment.
Workaround: treat the packshot as a visual asset, not a replacement for technical specifications.
A single front view cannot reveal every back panel, interior finish, or hidden closure with confidence.
Workaround: provide multiple angles or request separate outputs for each important product surface.
When the priority shifts from a clean product view to changing the person in an existing image, the model swap workflow is usually the more suitable route.
| Attribute | Fashn packshot | Conventional shoot |
|---|---|---|
| Starting point | One clear garment image | Sample, set, crew, and camera plan |
| Background control | Prompt-led neutral or styled setting | Physical set or post-production masking |
| Batch exploration | Fast variations across many SKUs | Additional capture time per variation |
| Exact physical fit | Visual approximation from the input | Observed directly on set |
| Retouching need | Usually focused on brand checks | Often required for every final frame |
| Best use | PDPs, catalogs, tests, and launch planning | Hero campaigns and exact production reference |
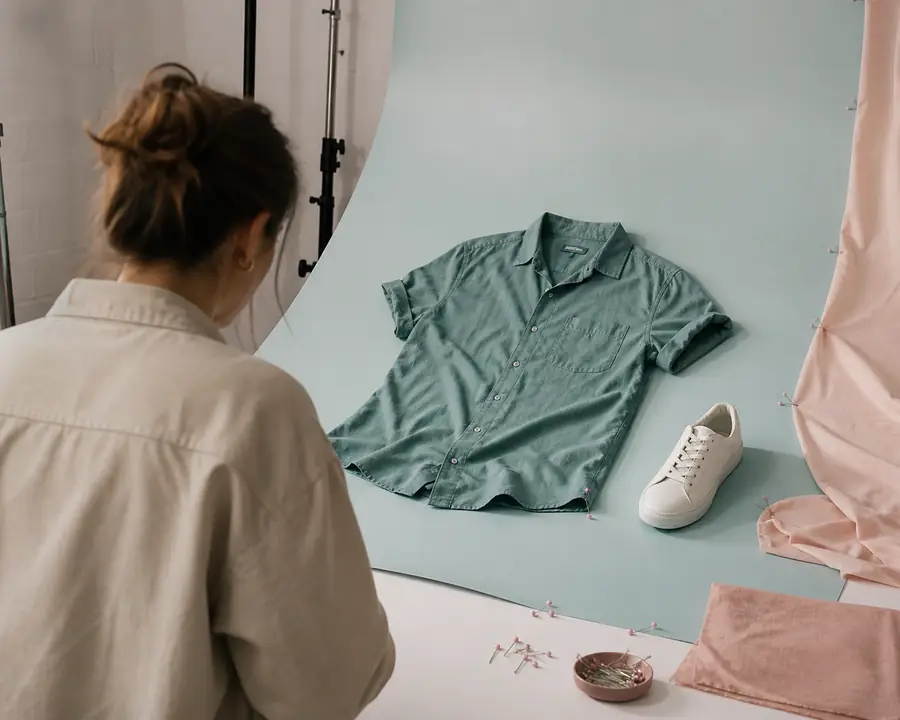
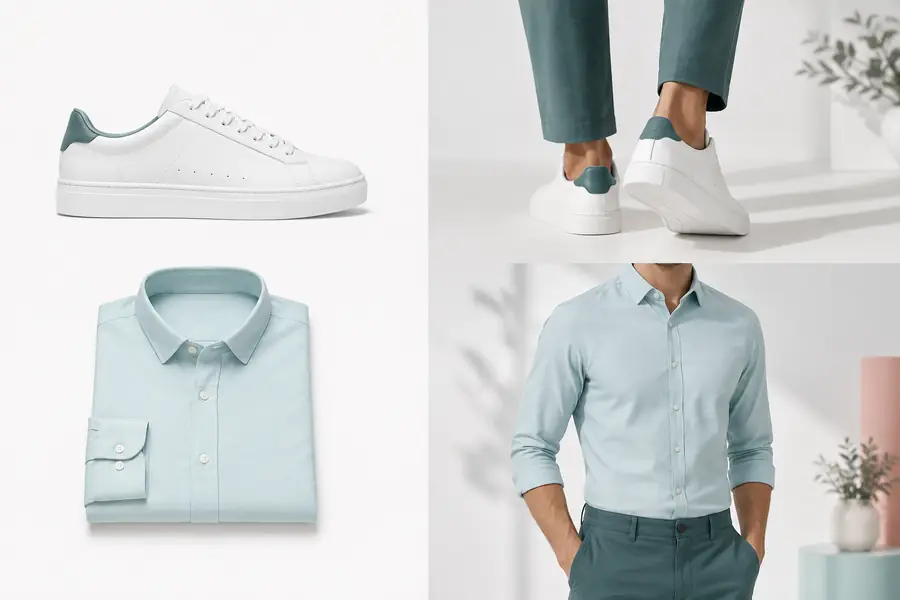
The useful change is not simply a cleaner background. It is a more repeatable product presentation: the garment occupies a predictable frame, the visual noise is reduced, and the same direction can be tested across a wider assortment.
A packshot is a product-focused image that presents an item clearly, usually against a simple background with controlled framing. It is commonly used for ecommerce listings, catalogs, and product detail pages.
Yes. A clear reference image can be used to create a clean product visual and explore controlled variations. Check important logos, trims, and construction details before publishing.
It can reduce the need for some routine product-image production, especially during catalog planning and assortment testing. It should not replace a controlled shoot when exact fit, material behavior, or campaign-level art direction is essential.