Merchandising
Show a new piece in a believable setting while the collection is still being planned.
Explore virtual try-onFashn turns a single garment image into a realistic on-model scene. This product to model workflow helps fashion teams test styling, create campaign directions, and prepare useful visual content before a physical shoot.
1
Garment image as the starting point
A → B
From product reference to styled model
Fast
Useful visual directions in minutes
The input is a clean photo of clothing or an accessory. The output is a new image that places the same visual idea on a person, with a chosen pose, setting, crop, and mood. Fashn is not replacing the original product asset; it is expanding how that asset can be presented.
| Attribute | Product reference | On-model output |
|---|---|---|
| Primary subject | Garment or accessory | Person wearing or holding it |
| Best input | Clear, well-lit product photo | Direction for pose, scene, or styling |
| Product detail | Reference is preserved | Texture and silhouette are carried forward |
| Creative control | Limited to the original frame | Model, location, light, crop, and mood |
| Typical use | Catalog source or product page | Campaign exploration and merchandising |
| Production need | One existing image | No immediate reshoot for each direction |
A product photo answers “what is it?” An on-model image adds context: how it falls, who might wear it, and where it belongs. That extra context can help a buyer or creative team understand the product before production is locked.
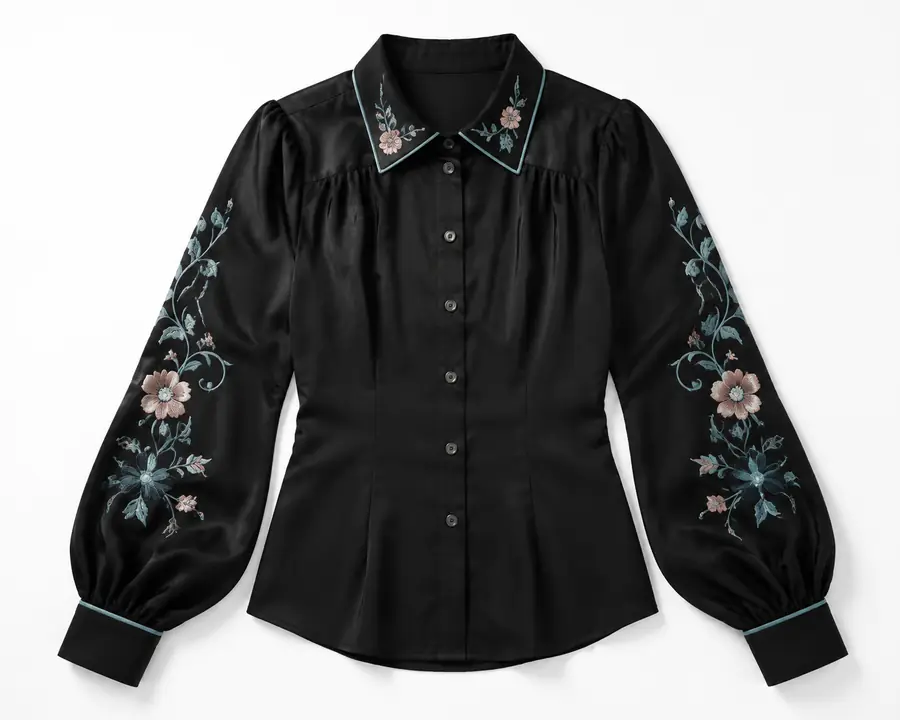
Single product reference
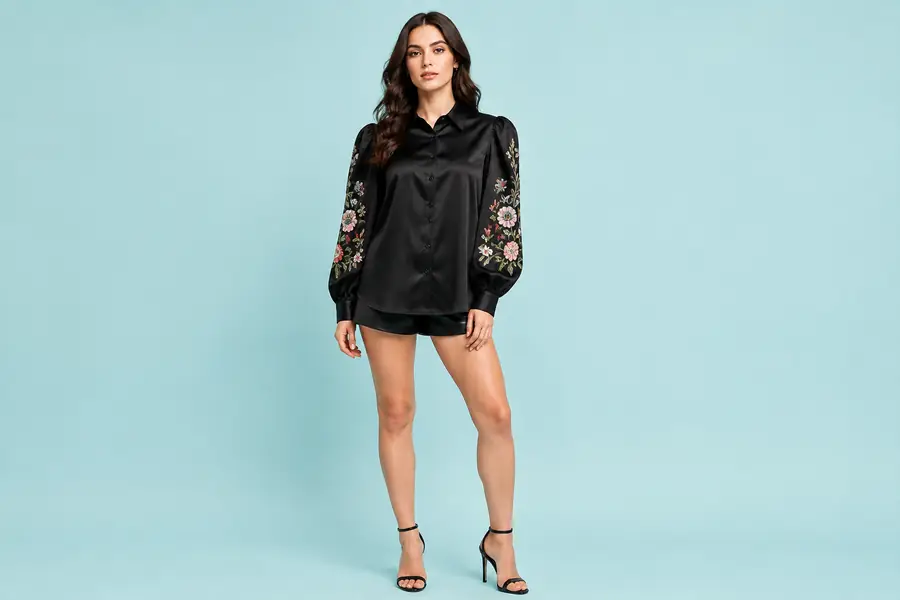
Styled on-model direction
The result is a creative starting point, not a substitute for final approval. For a different person in the same scene, pair this workflow with model swap; for direct customer visualization, explore virtual try-on.
Start with one asset, then choose the next visual task. Each route keeps the workflow focused so a team can move from reference to a usable direction without rebuilding the brief from scratch.
Show a new piece in a believable setting while the collection is still being planned.
Explore virtual try-onTest several casting or styling ideas before choosing a final production route.
Use model swapBuild a visual mood around a garment before investing in a complete campaign.
Try AI fashion modelsCreate a consistent visual draft when the product exists but the full shoot does not.
See packshot workflowGood inputs and a clear visual direction make the output easier to evaluate and refine.
Upload a clear image where the garment shape, color, and important details are easy to see.
Set the model mood, environment, pose, light, or crop you want to explore.
Compare variations, keep the strongest idea, and refine the brief for the next pass.
A realistic draft is valuable when its limits are understood. Keep a human review step for product truth and brand standards.
Small lettering, embroidery, or repeated marks can change between variations.
Workaround: use a high-resolution reference and verify final artwork separately.
Belts, ties, sheer fabrics, and overlapping pieces can produce unexpected interactions.
Workaround: simplify the first prompt, then add styling details one at a time.
The image can suggest drape and proportion, but it does not replace a technical fit process.
Workaround: pair the visual with approved size charts and garment measurements.
A single angle may not show the back, inside finish, or construction details.
Workaround: provide additional references when those details matter to the story.
Use this simple estimate to picture how a small batch of references could expand into a set of creative directions.
Estimates are directional planning figures, not a guarantee of output volume, cost, or time.
Product imagery has steadily moved from documentation toward a flexible system for showing meaning, context, and possibility.
Teams began using a single product photo to explore more than one finished presentation.
Better image models made texture, silhouette, and material handling central to fashion workflows.
Specialized tools such as Fashn connect product references with repeatable creative tasks.
The strongest workflows will connect product data, visual direction, review, and publishing.
Start with a clear product image and describe the model, setting, pose, or mood you want to explore. A simple reference usually gives the workflow enough direction for a useful first result.
Use the output for creative exploration, merchandising, campaign concepts, and content planning. Review logos, measurements, construction details, and brand requirements before treating any image as final.
Yes. Product to model begins with a garment reference and creates a styled presentation. Virtual try-on is designed to place clothing onto a supplied person or customer image for a more direct outfit visualization.